
The Ultimate Pre-Service Checklist: 12 Steps Before Every Appliance Repair Call
A pre-service checklist covers the prep work between booking a job and knocking on the door, and that work shapes how the whole service call goes. The wrong model number means the wrong part. Skipping the job history means walking into a callback without knowing it. A late arrival with no warning means the customer is annoyed before anyone says hello.
Every one of those is a preparation problem, and preparation is something you can put on a list. Here's a 12-step pre-service checklist for appliance repair technicians and the dispatchers who set them up, organized by when each step happens and who owns it.
Table of Contents
Why Every Appliance Repair Shop Needs a Pre-Service Checklist
Good techs prepare out of habit. The trouble is that habits vary from tech to tech, slip on a busy Friday, and never get passed down to the new hire. A written checklist turns one person's good habit into the way the whole shop works.
Here's what that prep protects:
- The first trip. A return visit for a part that could have been on the van costs a second drive, a second slot on the board, and a second day the customer has to stay home. Few things hurt your first-time complete rate more than showing up unprepared.
- The first impression. Customers size up the technician before the toolbox opens: the text with an arrival time, whether the tech showed up at that time, and the shoe covers at the door.
- The money. A job with no confirmed authorization, or a fee nobody explained, can turn into an argument at the end of the visit, the hardest place to fix it.
- The tech's day. A prepared technician spends the service call working, not calling the office for a gate code, a model number, or what the CSR promised.
The catch is length. A checklist that takes fifteen minutes per job gets skipped on the first busy day, so the 12 steps below split the work. The office handles most of the first four the day before, and the technician's share takes a few minutes per job.
Steps 1 to 4: Know the Job Before You Leave
These four steps happen at a desk or on the phone, ideally the afternoon before the visit. The dispatcher or CSR does most of the legwork, and the technician reads the results before pulling out.
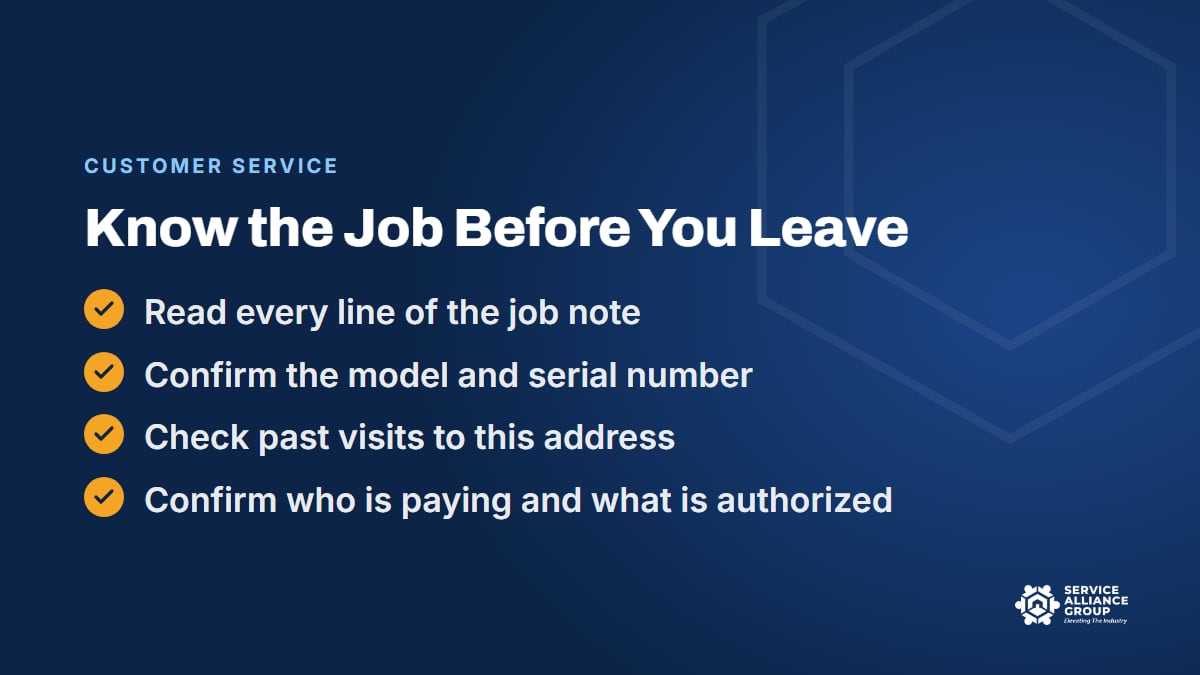
1. Read every line of the job note
A good job note tells the tech the appliance, the brand, the symptom in the customer's own words, how old the unit is, what the customer already tried, and exactly what the CSR said about the diagnostic fee and the arrival window. Read all of it, not just the first line.
Then read it for what's missing. A note that just says "dryer not working" needs a call or a text to the customer before the visit, not a guessing game at the machine. If the job doesn't fit the slot it was booked into (a built-in refrigerator squeezed into a standard time block, or a stacked laundry pair in a tight closet), flag it for dispatch while there's still time to adjust the board or send help.
Thin notes are usually a booking problem, not a technician problem, and our post on dispatching strategies covers what a complete job note should hold.
2. Confirm the model and serial number
The model number is the most useful fact on the job. It decides which service information applies and which parts fit. A symptom plus a brand is a guess, and a symptom plus a model number is a plan.
Get it at booking when you can by asking the customer to text a photo of the model and serial tag. Tags are often inside a door opening, under a lid, behind a range drawer, or on an inside wall of the refrigerator. If the photo never arrives, the office follows up the day before.
Don't skip the serial number. On many brands it tells you when the unit was built, and on some models the correct part changes partway through production.
3. Review past visits to this address
Before the tech rolls up, check the history. Has the shop been here before, for which appliance, and when? If the same machine was repaired within your warranty period, this may be a callback rather than a new service call, and the technician needs to know that before the customer brings it up.
History tells you other useful things too: which parts went in last time, what the last tech noted about the unit, whether the customer declined a repair, and notes like "prefers calls to texts" or "use the side door." If there's a complaint on file, the tech should hear about it in the truck, not halfway through the diagnosis.
4. Confirm who is paying and what is authorized
Not every job is a homeowner paying with a card. Sort out the money before the visit, not at the kitchen table:
- Retail customers: the diagnostic fee and how it works, exactly as the CSR explained it.
- Home warranty jobs: the dispatch or authorization number, what the customer owes at the visit, and which repairs need the warranty company's authorization before work starts.
- Rentals: whether the tenant or the landlord decides on the repair, who pays, and the property manager's contact and spending limit.
- Commercial accounts: a purchase order number if the customer requires one.
A tech who knows this can quote with confidence. A tech who doesn't ends up on hold with a warranty company while the customer watches the clock.
Steps 5 to 8: Get Ready for the Machine
Now the technician takes over. The first two steps happen for every job, the night before for the first call of the day and in the driveway of the previous job for the rest. The last two happen once, at the start of the day.
5. Pull the service information for that model
With a model number and a symptom, a tech can learn a lot before touching the machine: what an error code means, the test procedures for the likely components, the specs to measure against, and any service bulletins for that model. Reading it in the truck takes a few minutes. Reading it for the first time on the kitchen floor, with the customer watching, is slower and far less reassuring.
It won't replace the diagnosis at the machine, but it narrows the list of likely failures before you arrive. Appliance Atlas fits this step, and the section near the end shows how.
6. Think through the likely parts
Use the symptom, the model, and the service information to list the two or three most likely failures. Then check the van for each one:
- If it's on the truck, confirm the part number matches this model, not just this brand.
- If it isn't, decide now whether to grab it from the supply house on the way or check availability, so the customer gets a real timeline if it has to be ordered.
- If the likely part is expensive or slow to get, tell dispatch before you leave, so the office can plan the board around a possible return visit.
A few minutes of parts planning can save a whole second trip. Van stock built from real job history makes this step easier every week, and our guide to inventory management for van stock and parts shows how to set it up.
7. Check the truck, and yourself
Walk the van at the start of the day, not in the customer's driveway:
- Van stock at or above its minimums, with yesterday's used parts restocked
- Meters and tools working, batteries charged
- The phone or tablet charged, with the day's jobs loaded
- Anything today's jobs need that most calls don't, like an appliance dolly or a second tech for a heavy built-in unit
- Trash bags and cleaning supplies, so every space gets left cleaner than you found it
Then check what the customer sees first: a clean cab, a clean shirt, and visible ID. Customers let your technician into their kitchen and laundry room, which is closer than most visitors ever get.
8. Pack PPE and floor protection
Protection gets its own step because it's the supply that quietly runs out. Before leaving, make sure the truck has:
- Plenty of shoe covers, not the last pair in the box
- Clean drop cloths, never the one from yesterday's leaking dishwasher
- Floor protection for sliding a refrigerator, range, or washer over hardwood, tile, or vinyl
- Towels for the water left in a washer, dishwasher, or supply line
- Gloves, safety glasses, and a good flashlight
One scratched hardwood floor can cost more than the repair paid, and shoe covers on a dry day show the customer you'll respect their home on a wet one. For safety gear and your obligations as an employer, start with OSHA, then check your state's requirements and talk to a qualified professional about what applies to your shop.
Steps 9 to 12: Get Ready for the Customer
The last four steps are about the person, not the appliance. They take a couple of minutes, and they shape the part of the service call customers remember.
9. Know how to get in and who will be there
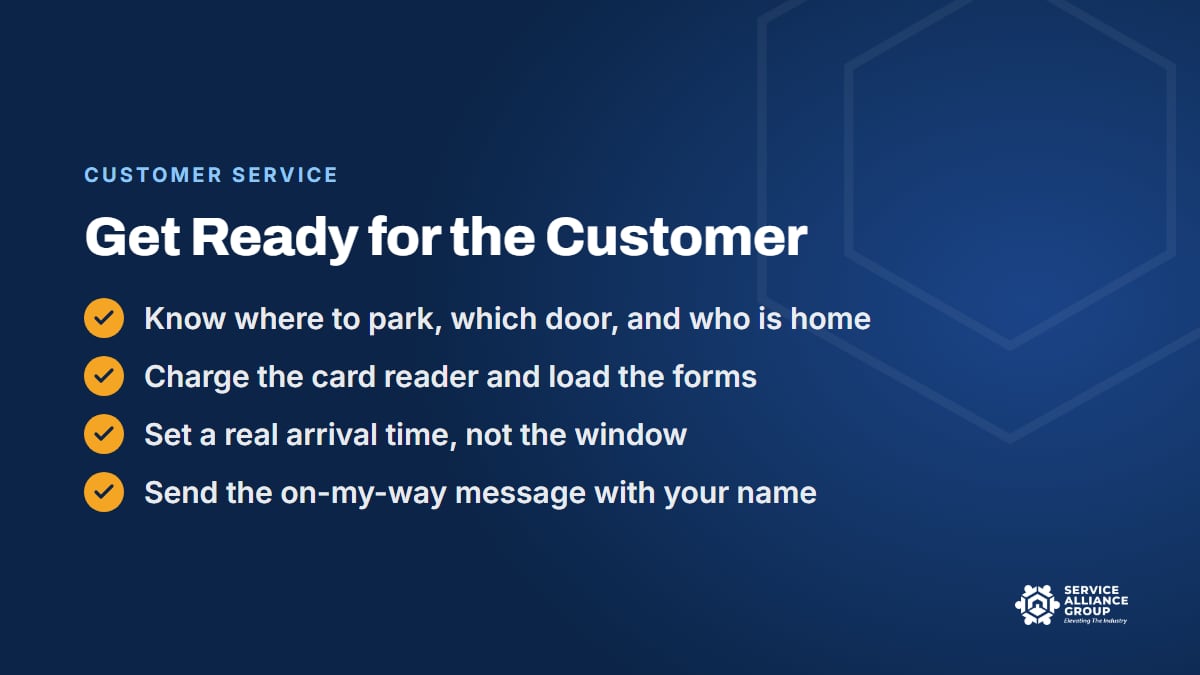
Check the notes for gate or door codes, where to park, which door the customer wants you to use, stairs down to a basement laundry room, pets, and who will be home. If the person who booked the appointment won't be there, find out who can make decisions about the repair.
Parking on the street instead of blocking the driveway is usually the safe default. "Which door would you like me to use?" is better settled ahead of time than on the front step, and if the notes don't answer it, the on-my-way message can.
10. Get payment and paperwork ready
Nothing stalls the end of a good visit like a card reader that won't connect. Before the first job of the day, have:
- The card reader charged and tested, with a backup way to take payment
- Your price book current on the tablet, so the quote at the machine matches what the office would say
- Estimate and authorization forms ready for a signature before work starts
- Any photos or paperwork the day's home warranty companies require
- Your review link and business cards on hand
11. Set a real arrival time
The customer booked a window, but they're waiting for a time. Before leaving the previous job, check the drive with current traffic and work out when you'll really get there. That's the number the customer should hear, not the window read back to them.
If the job in front of you is running long, tell dispatch the moment you know. The office can call the next customer, offer a new slot, or shuffle the board while there's still room to do it. Our post on route optimization covers keeping windows realistic in the first place.
12. Send the on-my-way message
Of all twelve steps, this one costs the least and customers notice it the most. A short text with the technician's name, a photo if your software supports one, and a real arrival time tells the customer who is coming and when. Send it as you leave the previous job, so they have time to get home, put the dog away, and clear a path to the appliance.
It should sound like a person wrote it: "Hi Linda, this is Jake with [your company]. I'm leaving my last job now and should be there around 1:40. If you can clear a little space in front of the dryer, I can get started right away."
Running late? Send an update with a new time the moment you know. A late arrival is forgivable. A late arrival with no warning usually isn't.
Put the Pre-Service Checklist Where the Work Happens
A checklist in a binder back at the shop doesn't prepare anyone. It has to live where techs and dispatchers already look, and everyone has to know which steps are theirs.
| Step | Owner | When |
|---|---|---|
| 1. Read every line of the job note | Office, then tech | Day before, then before leaving |
| 2. Confirm the model and serial number | Office | At booking or the day before |
| 3. Review past visits | Office, then tech | Day before, then before leaving |
| 4. Confirm who is paying | Office | Day before |
| 5. Pull the service information | Tech | Night before or between jobs |
| 6. Think through the likely parts | Tech | Night before or between jobs |
| 7. Check the truck and yourself | Tech | Start of the day |
| 8. Pack PPE and floor protection | Tech | Start of the day |
| 9. Know how to get in | Tech | Before leaving the previous job |
| 10. Get payment and paperwork ready | Tech | Start of the day |
| 11. Set a real arrival time | Tech | Before leaving the previous job |
| 12. Send the on-my-way message | Tech | As you leave the previous job |
Then make it stick:
- Build it into your software. If your scheduling software lets you add or require fields, use them for model, serial, and authorization, and flag any job still missing them the day before. Our guide to appliance repair scheduling software covers the features worth comparing.
- Put a card on the dash. Steps 5 through 12 fit on one laminated card.
- Write it into your procedures. A pre-service checklist is a standard operating procedure, so keep it with the rest of yours. The SOP Library has Operations and Customer Service documents to build from.
- Teach it on day one. A new technician should run the checklist on every ride-along until it's automatic.
- Change it when something goes wrong twice. If a preventable problem shows up twice, add a step. If a step never prevents anything, cut it.
You'll know it's working when fewer trucks go back for parts that should have been on the van, more arrivals land on time, fewer payment questions turn into arguments at the end of a visit, and the office gets fewer "where's my tech?" calls. If those numbers don't move after a couple of months, find out which steps are getting skipped.

Where 5 Star Service Calls and Appliance Atlas Fit
Two things we built fit this checklist closely, one for the technician's habits and one for the machine.
5 Star Service Calls is our free course on soft skills for technicians: 38 short lessons and a final test, in the member portal. Three of its lessons line up with this checklist:
- Read the Job, Check the Truck
- The On My Way Message
- Know Before You Go
The course also covers what happens at the door and inside the home, including the knock, floor protection, the customer interview, explaining in plain words, and asking for the review.
Appliance Atlas helps with steps 5 and 6. The technician enters the brand, model, and symptom, and Atlas pulls the service documentation for that model from a library of 131,000+ service manuals, then answers from it: what an error code means, the test procedures, and the component checks. When the diagnosis calls for a part, Atlas confirms the OEM part number against a live wholesale catalog, showing price and stock, before you order.
It's built for a phone in the field, so that prep fits in the driveway of the previous job. Techs can download manuals as PDFs, go back through a saved, searchable history, and request a missing model from inside the app. Atlas has seats for the whole crew and is sold as a standalone subscription.
Frequently Asked Questions
What is the most important step on a pre-service checklist?
Confirming the model number, because almost everything else depends on it: the service information, the likely parts, and whether the right part is already on the van. Ask for a photo of the tag at booking. If the customer can't find it, don't hold up the appointment. Note the brand, type, and rough age, and have the technician capture the tag on arrival, before any parts get ordered.
How long should a pre-service checklist take?
For the technician, a few minutes per job, as long as the office does its share the day before. Model numbers, job history, and payment details are easier to confirm at a desk than in a driveway. If it takes much longer than that, either the list is too long or the office steps aren't getting done, and a checklist that slows techs down soon stops getting used.
Should the dispatcher or the technician own the pre-service checklist?
Both, with clear lines. The office owns the facts in steps 1 to 4: the job note, the model and serial number, the job history, and who is paying. The technician reads them before leaving and owns steps 5 to 12, from the service information and likely parts to the truck, the arrival time, and the on-my-way message. Write down who does what, so nothing falls into the gap between them.
Does a one-truck shop need a pre-service checklist?
Probably more than a bigger shop does. With no office to catch a missing model number or an unconfirmed warranty authorization, every miss lands on the owner in the customer's kitchen. Run steps 1 to 4 the evening before while you plan tomorrow's route, do the truck, protection, and payment checks before your first job, and handle the rest between jobs. It takes minutes and saves the second trips that eat a small shop's week.
Every step on this pre-service checklist takes minutes, and each one heads off a problem that takes far longer to fix after the fact. Print the table for the office, put steps 5 through 12 on the dash, and run the checklist before tomorrow's first service call.